
Capture emails from anonymous visitors with easy-to-configure forms.
Create forms within WordPress or Drupal to manage your website and capture emails of anonymous visitors in minutes.
Building known customer profiles has become a priority for marketers seeking to deliver personalized experiences and maximize campaign impact. However, implementing effective lead capture solutions often requires technical resources and custom development, slowing down execution and increasing complexity. Without a simple way to capture and connect email addresses to anonymous visitors, businesses miss opportunities to build complete profiles and engage with users meaningfully.
How can Lytics help?

Programmatically review and identify current web visitors
Lytics’ real-time personalization engine lets you programmatically review and identify current web visitors. With access to a visitor’s comprehensive profile, you can deliver lead capture forms to a user based on the segments they do or do not belong to.
Pre-built and custom segments for creating hyper-focused campaigns
Lytics has segments, including anonymous users, that are available out-of-the-box to help support everyday use cases so you can hit the ground running. You can also create custom audiences defined based on your exact needs using Lytic’s audience wizard.
Flexible, built-in personalization SDK for on-site experience delivery
Lytics has created a robust personalization functionality via our Pathfora SDK into the Lytics JavaScript tag. This powerful client-side feature allows web developers to create unique experiences with minimal lift.
User-friendly widget wizard built into WordPress and Drupal extensions
Configure and publish your on-site widget in minutes without a developer from within the tool you already use to manage your site.
No data mapping required for standard form fields
Because the Pathfora SDK functionality was developed alongside the Lytics tag, collecting data from typical fields–like email, name, phone, company, etc.– included in your lead capture forms is entirely turn-key.

Level of effort Low
Let's get started
1
Plan the messaging and incentive for your lead capture form. For best results, we recommend leveraging an offer or incentive that will resonate with your customers to entice them to “sign up” and identify themselves. In return, you’ll gain more information about this visitor, strengthen their customer profile, and unlock the ability to connect in channels outside the web.
2
Make the necessary user profile data accessible. As an admin user of Lytics, you can enable or disable any attributes or segments from being surfaced to the web via our JavaScript SDK. In this example, we are using a Lytics-created audience that is already enabled by default:
anonymous_profiles – This pre-built audience represents visitors without an email address present on the profile
3
Add a new widget. For those who have installed the Lytics Drupal module or WordPress plugin, you can create on-site experiences using the Widgets section of the menu in either of those tools. For accounts in the Growth tier or higher, you can configure these right in the Lytics app within the Experiences tab. In our example, we will use the WordPress plugin. Navigate to the Lytics Widget dashboard in your WordPress admin dashboard and click the Add New button to get started.
4
Build your Lead Capture widget in the wizard. The Lytics Widget wizard guides you through widget creation, so you can configure your widget as you see fit. See below for how we have set up our example:
- Details: Give your widget a label, ID (this should be unique), and description.
- Configuration: Select “Lead Capture Form” as the Type.
- Messaging: This is where you can create the Headline and Message included alongside the lead capture form. In our example, we will tailor messaging to receiving email versions of our articles.
- Targeting: Select the specific audience you would like to target with this lead capture form. Since we want to capture email, we will select the Lytics prebuilt audience of “Anonymous Profiles.” We will configure our widget to only surface on article pages to align with the messaging around keeping up to date with our latest articles. To do this, we will use the Where would you like your widget to be displayed? option to match the string “articles” since this term is present in all our article page URLs.
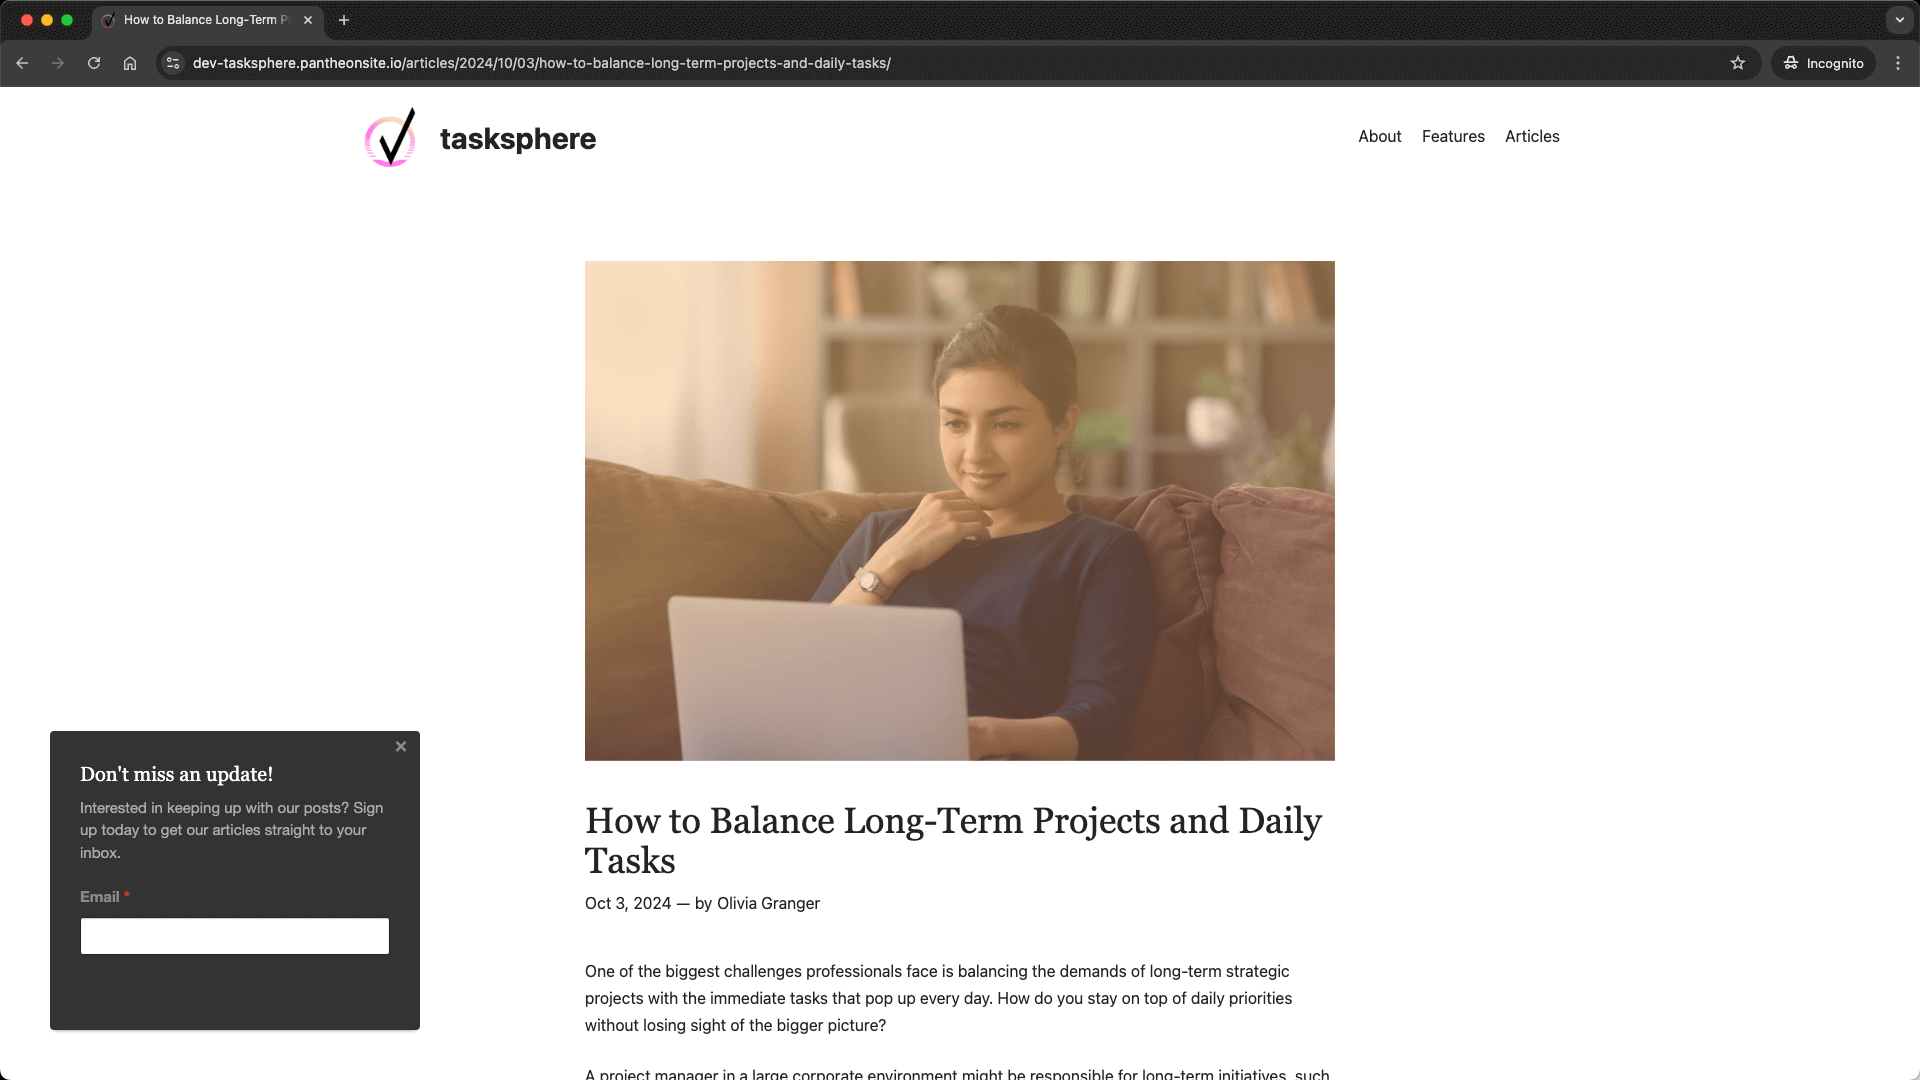
- Layout: We want this widget to be prominent but not cover the content a visitor is reading, so we will select a Slideout for the Layout and use movement to capture the reader’s attention. To do this, we’ll set the Position, in this case, “Bottom Left,” and set the Origin to “Bottom” to create some movement.
- Branding: Determine the look and feel of your widget by selecting a Dark or Light theme or creating a custom theme to match your brand more effectively. You can even
- Display Rules: To ensure that a user has settled in to read the article, we will add a “showDelay“ Display Condition and set the Wait before showing? option to “5” (seconds). Additionally, we would like to hide this for a day if a visitor closes the widget, so we will also add a “hideafterAction” Display Condition and set the Max number of close actions? to “1” and Refresh close action counter every (seconds)? to “86400.”
- Form Fields: Since we are signing users up to receive our new articles, we will only ask for their email. To do this, we will click Add Email and set the Name to “email” and the Label to “Email Address.” Using “email” as the name, Lytics will automatically send the user’s input into the Email profile field upon submission without needing additional data mapping in Lytics. Learn more about the other pre-mapped profile fields available in Lytics to further customize your lead capture form.
5
Test your widget in your WordPress admin console. You can see how your widget will appear by clicking the Test Widget button on the left side of the widget builder.
6
Build a Report to track your campaign’s impact. Lytics stores profile-level engagement for all Pathfora experiences. Because this data is surfaced on the profile, you can create a Lytics report to visualize the impact of your campaign. See the inspiration found here to give you ideas on configuring a report to highlight Widget metrics.
7
Publish the Widget and start collecting leads. Once you have configured your Widget, activation is as simple as publishing.