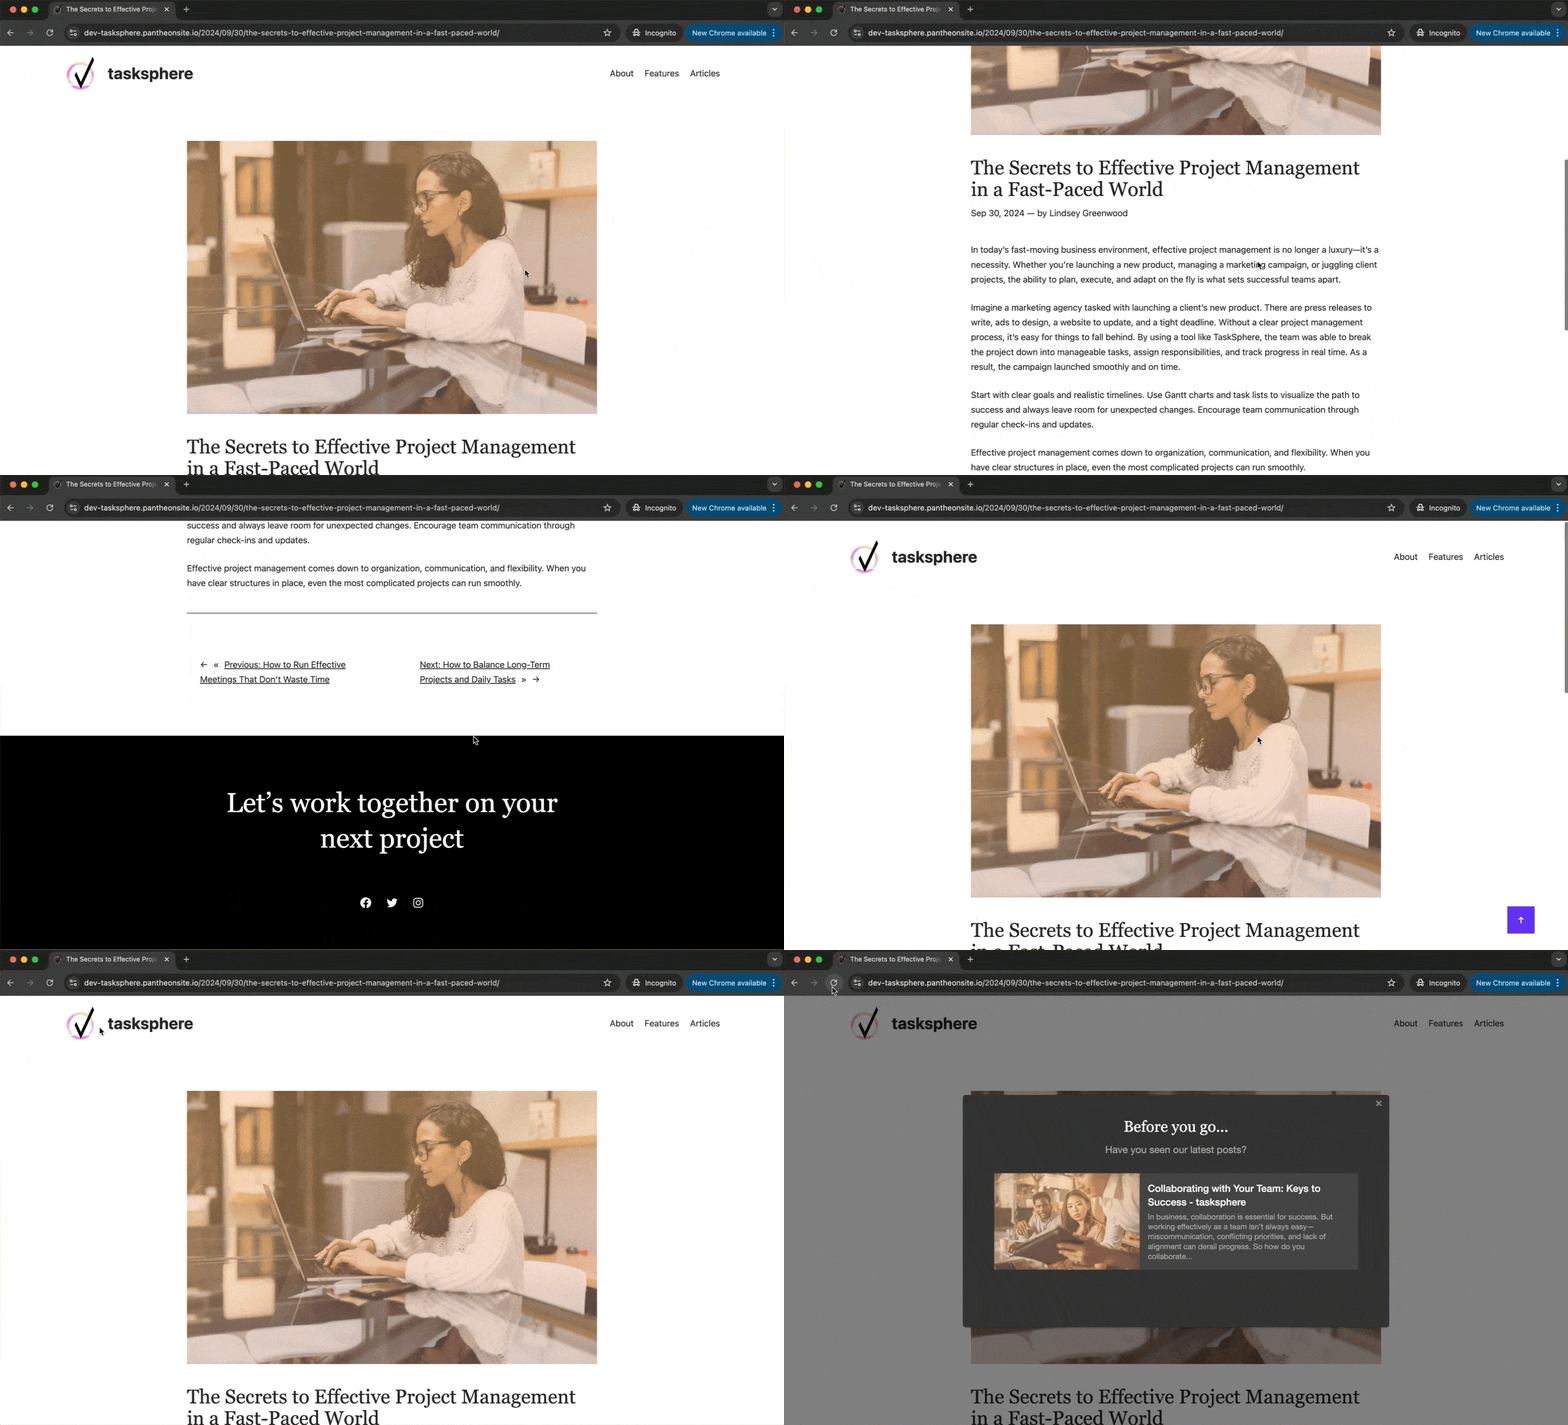
Surface relevant content recommendations to keep users from leaving your site.
Utilize Lytics Interest Engine seamlessly to engage users effectively when they intend to exit your site.
Whether you’re trying to drive revenue through on-site advertising sales, push prospects toward conversion, or deepen customer loyalty, capturing and retaining visitor attention is paramount. Surfacing the right content at the right moment is essential to create a compelling and personalized user experience.

How can Lytics help?
Continuous topic interest scoring
Lytics continuously and comprehensively analyzes both your content and users to generate interest-based scores as users engage with your site. By understanding individual interests, you can present visitors with content they will likely find engaging and valuable. Ultimately, delivering personalized content entices users to increase their time on your site and the number of pages they view.
Customizable collections for powering recommendations
To better support a personalized user experience, Content Collections can be curated to surface only content you want to use for recommendations. These collections can be easily tailored based on content fields like title, URL, published date, or associated topics, and they can be populated dynamically to make them more manageable.
User-friendly, powerful personalization capabilities
Lytics’ robust personalization SDK is extremely powerful and has many customization options. For those just starting with Lytics, we have built-in Experience wizards in the Lytics app, Lytics WordPress plugin, and Lytics Drupal Module. The resulting turn-key content recommendation widgets make it easy to capture user’s attention, especially when they are about to navigate away from your site.
Prerequisites
To activate this use case, you will need to have:
Access to an active Lytics account.
Create one for free here.
The Lytics JavaScript Tag installed on your site.
Learn how to install the tag here.
The desired segment in Lytics.
Use one of our pre-built segments or build your own.
Classified content within your Lytics account.
Verify this using these steps.
Level of effort Low
Let's get started
1
Determine what content you want your users to see. Lytics provides some out-of-the-box collections to give you a starting point for making recommendations. You can start with the existing “Documents with Images” collection to surface only content that includes an image. If you want a more targeted collection, you can build your own.
2
Add a new widget. For those who have installed the Lytics Drupal module or WordPress plugin, you can create on-site experiences using the Widgets section of the menu in either of those tools. For accounts in the Growth tier or higher, you can configure these right in the Lytics app within the Experiences tab. In our example, we will use the WordPress plugin. Navigate to the Lytics Widget dashboard in your WordPress admin dashboard and click the Add New button to get started.
3
Build your Content Recommendation widget in the wizard. The Lytics Widget wizard has helpful guidance outlined:
- Details: Give your widget a label, ID (this should be unique), and description.
- Configuration: Select “Content Recommendation” as the Type.
- Messaging: This is where you can create the Headline and Message included alongside the auto-populated content recommendations
- Targeting: Select the specific audience you would like to target with these content recommendations. Since we want to deepen the engagement of those we can’t reach in other channels, we will select the Lytics prebuilt audience of Anonymous Profiles. This widget will appear on all pages, so we’ll leave the “Where would you like your widget to be displayed?” option blank.
- Layout: Given that this campaign will target when a visitor displays an intent to exit, we will select a prominent “Modal” layout. To ensure that the recommendation is populated within the modal, you will choose “Include Content Recommendation” here as well.
- Branding: Determine the look and feel of your widget by selecting a Dark or Light theme or creating a custom theme to match your brand more effectively.
- Display Rules: To ensure that it populates when a user is about to leave your site, you will need to select “Show on Exit Intent.”
- Recommendation: To draw further attention to the recommended content, we will choose the out-of-the-box Content Collection “Documents with Images” and check “Show Image” in addition to the “Show Title” and “Show Description” options.
4
Publish your widget to start recommending content. Now that your widget has been configured, you can click the Publish button to activate the widget on your site.
